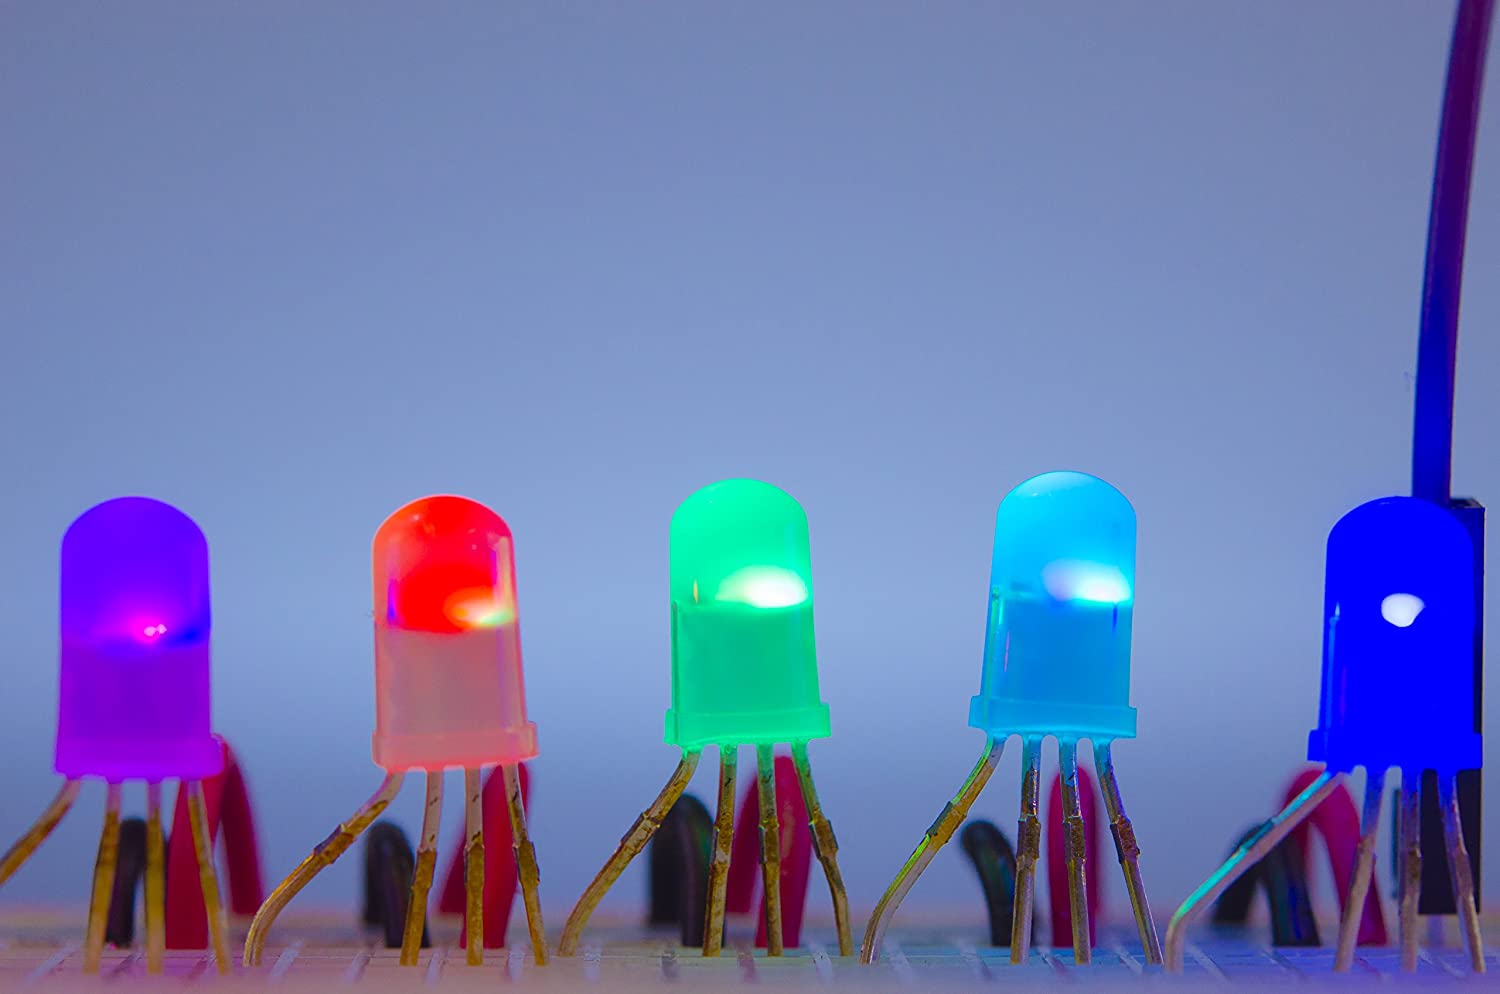
WS2812B LEDs with ESP8266
WS2812B RGB LED
Parts list
- 5 WS2812B LEDs Amazon Link
- 1 ESP8266 Amazon Link
- 1 Full size or 2 small breadboards
- A handful of short jumper wires
Software / Libraries
- Arduino IDE
- FastLED
- ESP8266 (Installed through Arduino IDE)
Connecting the LEDs
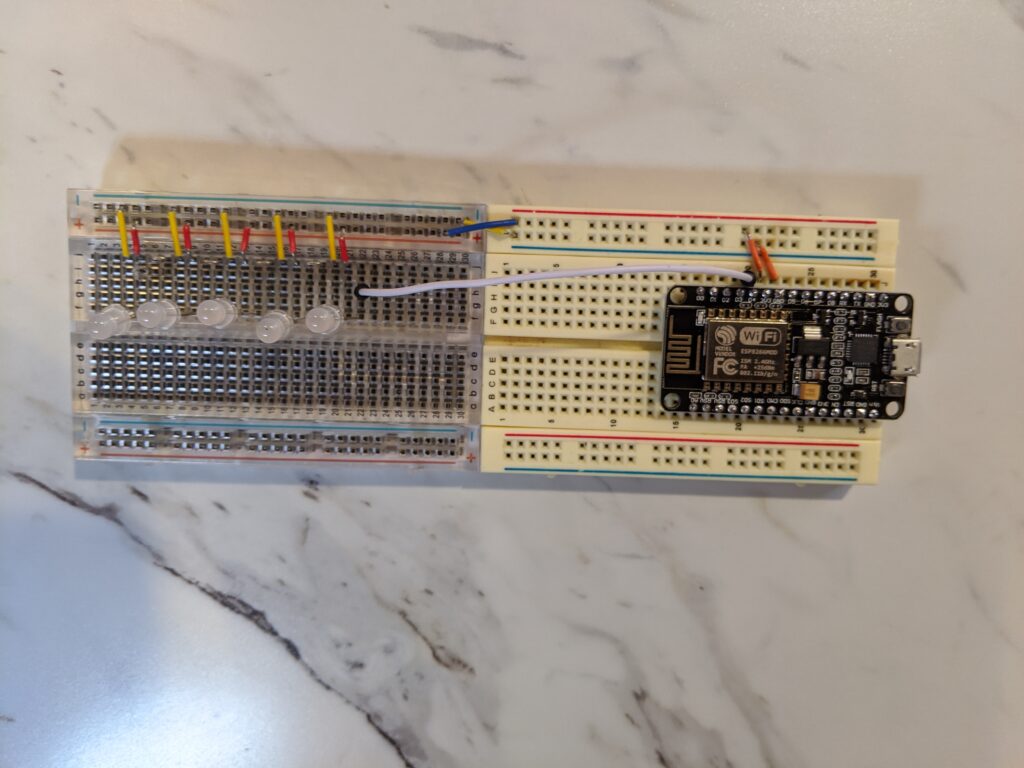
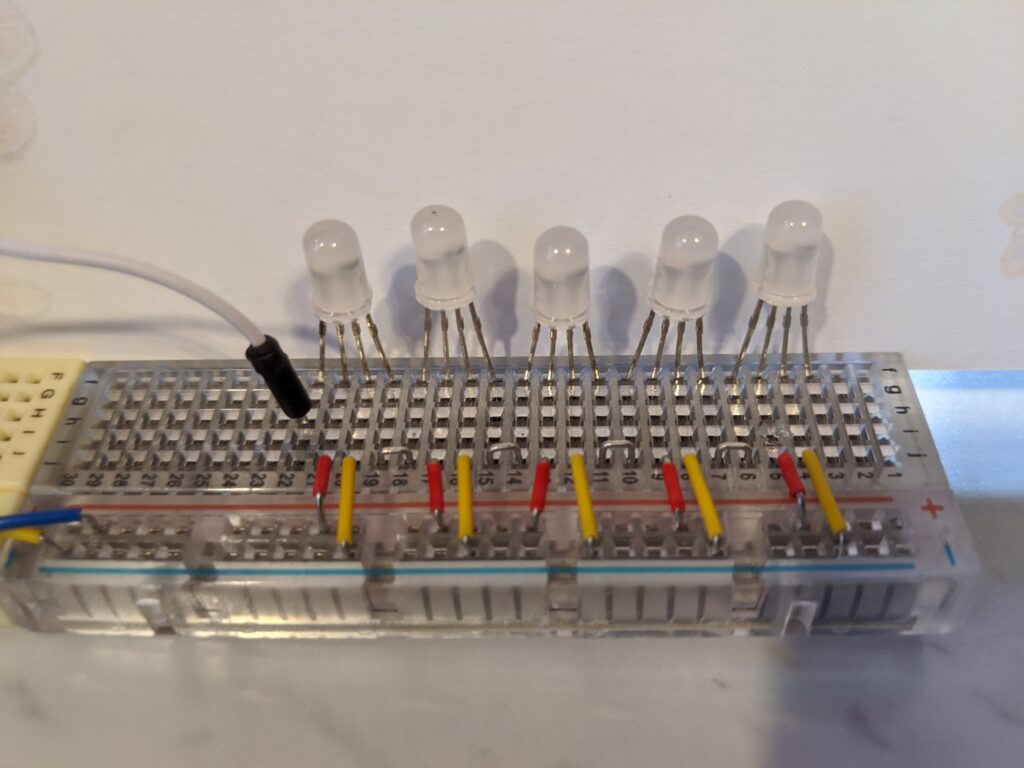
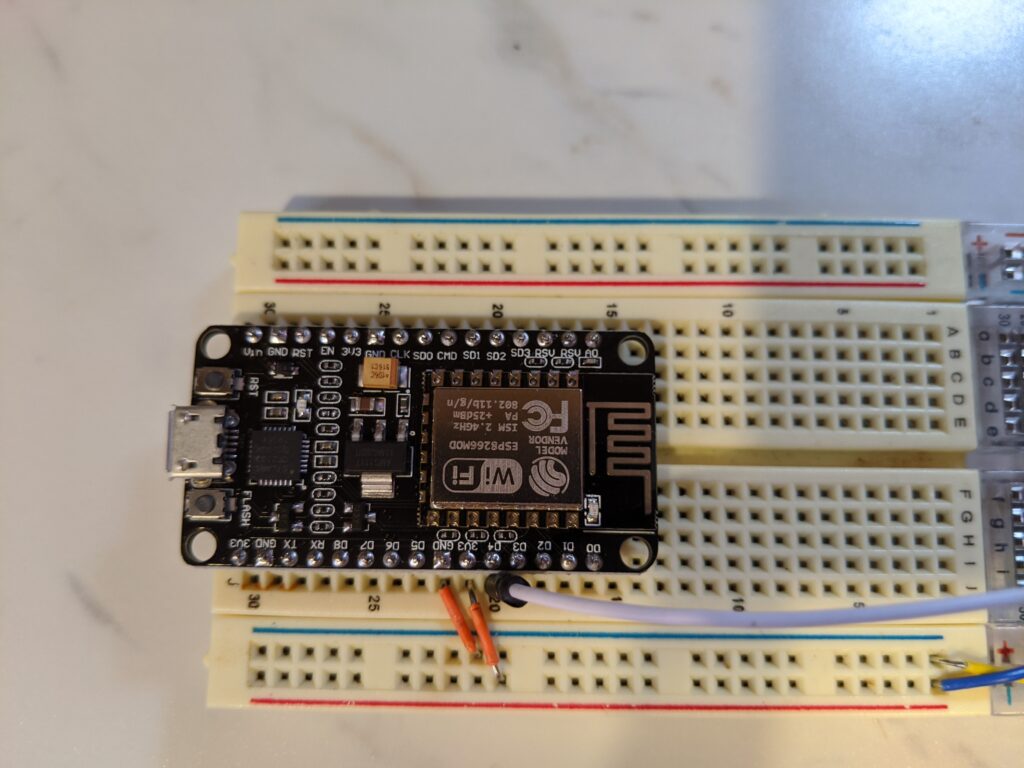
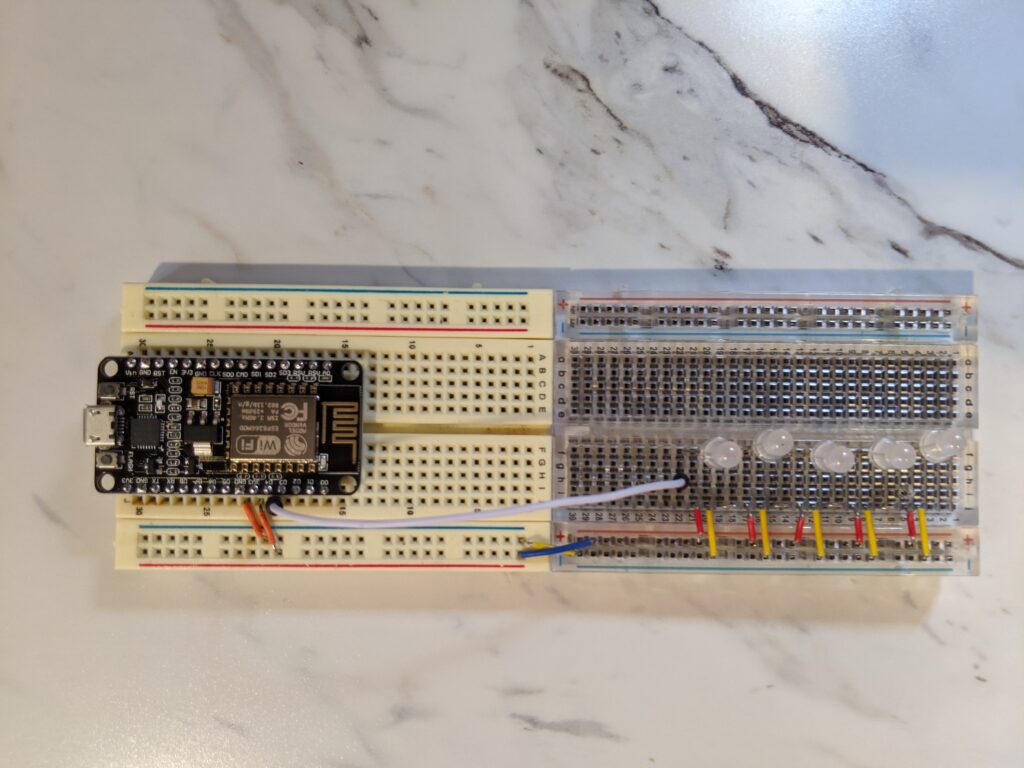
Plug the LEDs into the breadboard side by side. There is a flatside on the LEDs that tell you which way the LEDs should be connected to each other. The flat side should be facing the round side of the next LED, then the data line should be connected to the first pin of the first LED in the line. Connect the ESP8266 to the other side of the breadboard (you’ll want it near the edge to make it easier to plug in the micro USB.
ESP8266 Board controller on Arduino IDE
To be able to program the ESP8266 with the Arduino IDE, you’ll have to install the necessary board controller. This can all be done within the Arduino IDE. If you are using ArduinoIDE version 1.6.4 or later the following steps will work for you, but if you are on an older version you can find instructions on the ESP8266 core for Arduino GitHub HERE.
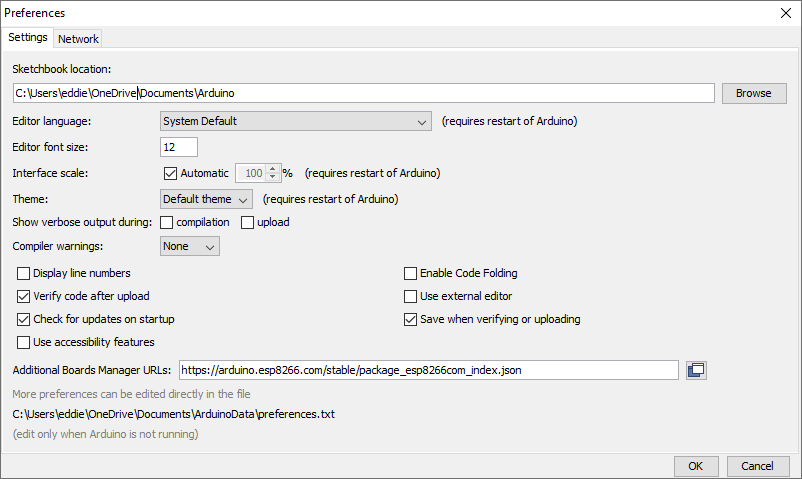
In the ArduinoIDE, open the preferences menu (File>Preferences), enter https://arduino.esp8266.com/stable/package_esp8266com_index.json into the Additional Boards Manager URLs text box, then click ok.
Open the boards manager (Tools>Board>Boards Manager). Scroll down until you see ESP8266, then click install. After installation is complete, you can close the board manager and select the ESP8622 (Tools>Boards>ESP9266). Now that the board controller is installed, it can be programmed in the same way as the Arduino.
Writing the code
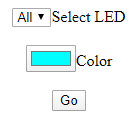
The code below will start the ESP8622, connect to your network, then set the LEDs to white to let you know it’s working. You will have to use the Arduino serial monitor to see what IP the ESP8622 is using. Once you have the IP, navigate to it in any browser that’s on the same network. The page hosted by the ESP is far from pretty, but it will allow you to select an LED (or All), select a color, and set it.
#include <FastLED.h>
#include <ESP8266WiFi.h>

#ifndef STASSID
#define STASSID "PUT YOUR NETWORK NAME HERE"
#define STAPSK  "PUT YOUR WIFI PASSWORD HERE"
#endif

#define DATA_PIN    2
#define COLOR_ORDER GRB
#define NUM_LEDS    5
CRGB leds[NUM_LEDS];
#define BRIGHTNESS          96

const char* ssid = STASSID;
const char* password = STAPSK;

// Create an instance of the server
// specify the port to listen on as an argument
WiFiServer server(80);

void setup() {
  Serial.begin(115200);

  // prepare LED
  delay(2000);
  pinMode(DATA_PIN, OUTPUT);
  FastLED.addLeds<WS2811, DATA_PIN, RGB>(leds, NUM_LEDS);
  FastLED.clear();
  FastLED.show();FastLED.show();
  //digitalWrite(LED_BUILTIN, 0);

  // Connect to WiFi network
  Serial.println();
  Serial.println();
  Serial.print(F("Connecting to "));
  Serial.println(ssid);

  WiFi.mode(WIFI_STA);
  WiFi.begin(ssid, password);

  while (WiFi.status() != WL_CONNECTED) {
    delay(500);
    Serial.print(F("."));
  }
  Serial.println();
  Serial.println(F("WiFi connected"));

  // Start the server
  server.begin();
  Serial.println(F("Server started"));

  // Print the IP address
  Serial.println(WiFi.localIP());

  //Set LEDs to white when everything is ready
  fill_solid(leds, 5, CRGB::White);
  FastLED.show();
}

void loop() {
  // Check if a client has connected
  WiFiClient client = server.available();
  if (!client) {
    return;
  }
  Serial.println(F("new client"));

  client.setTimeout(5000); // default is 1000

  // Read the first line of the request
  String req = client.readStringUntil('\r');
  Serial.println("request: " + req);

  // Match the request
  int val;

  //Get the selected LED and color from the req string
  String selectedLED = req.substring(req.indexOf("/LED/")+5, req.indexOf("/LED/")+6);
  String color = "0x" + req.substring(req.indexOf("/LED/")+7, req.indexOf("HTTP")-1);
  long colorL = strtol(color.c_str(), NULL, 16);

  Serial.println("Change LED " + selectedLED + " to " + color);

  if (req.indexOf(F("/LED/A")) != -1) {
    fill_solid(leds, 5, colorL);
  }
  else if (req.indexOf(F("/LED/")) != -1) {
    leds[selectedLED.toInt()] = colorL;
  }

  FastLED.show();

  // read/ignore the rest of the request
  // do not client.flush(): it is for output only, see below
  while (client.available()) {
    // byte by byte is not very efficient
    client.read();
  }

  // Send the response to the client
  // it is OK for multiple small client.print/write,
  // because nagle algorithm will group them into one single packet
  client.print(F("HTTP/1.1 200 OK\r\nContent-Type: text/html\r\n\r\n<!DOCTYPE HTML>\r\n<html>"));
  client.print(F("<head><SCRIPT language=\"JavaScript\">"));
  client.print(F("function openwindow() {"));
  client.print(F("var e = document.getElementById('colors');"));
  client.print(F("var led = document.getElementById('LEDs');"));
  client.print(F("var color = document.getElementById('color');"));
  client.print(F("var url = led.options[led.selectedIndex].value + '/' + color.value.substr(1);"));
  client.print(F("window.location.href = 'http://"));
  client.print(WiFi.localIP());
  client.print(F("/' + url;} </SCRIPT></head>"));
  client.print(F("<html><center>"));
  client.print(F("<select id=\"LEDs\">"));
  client.print(F("<option value=\"LED/A\">All</option>"));
  client.print(F("<option value=\"LED/0\">0</option>"));
  client.print(F("<option value=\"LED/1\">1</option>"));
  client.print(F("<option value=\"LED/2\">2</option>"));
  client.print(F("<option value=\"LED/3\">3</option>"));
  client.print(F("<option value=\"LED/4\">4</option></select>"));
  client.print(F("<label for=\"LEDs\">Select LED</label><br><br>"));
  client.print(F("<input type=\"color\" id=\"color\" name=\"head\" value=\"#ffffff\">"));
  client.print(F("<label for=\"color\">Color</label><br><br>"));
  client.print(F("<button type=\"button\" onclick=\"openwindow();\">Go</button>"));
  client.print(F("<br></center></html>"));

  Serial.println(F("Disconnecting from client"));
}